by owner-admin
Share

Downhill Hiking Pro Tips
Downhill Hiking Pro Tips
Ever wondered about the techniques and tricks out there that make a hiker great on the downhill? Or put another way: How do you get better at what is essentially controlled falling?
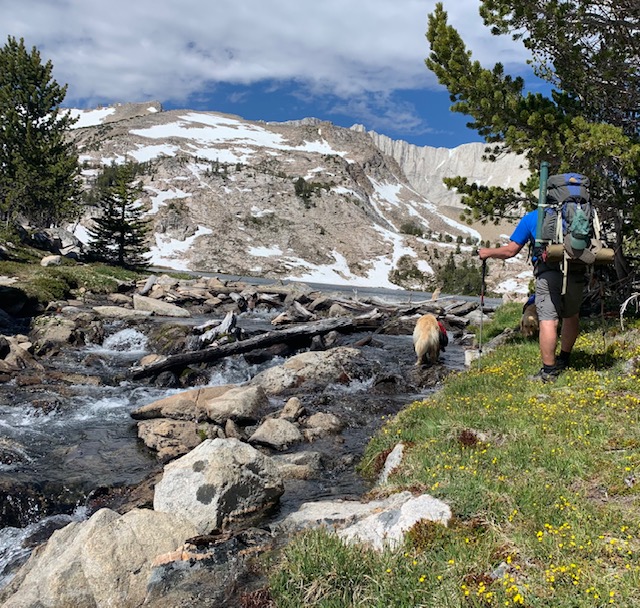
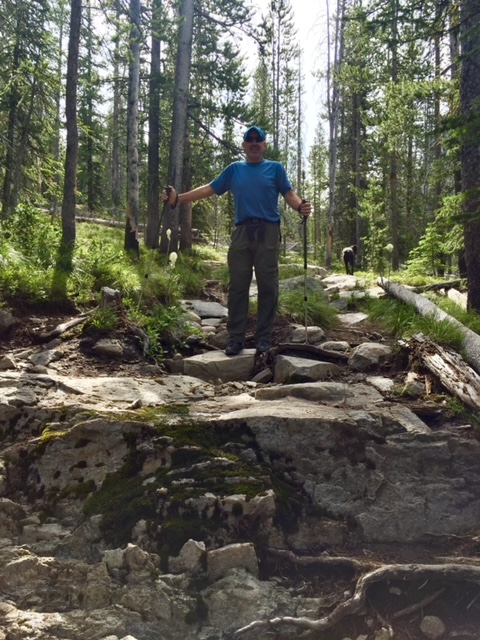
Pay Attention to the Terrain
Unless you’re on an exposed ridge, there’s typically only so far you can fall while hiking upward. You stumble, maybe you skin your knee, and you get back up and press on. Falling while hiking down is, of course, an entirely different proposal, since the same gravitational forces that ostensibly make going down easier can also send you end over end or headlong into a tree.. So watch out for roots that will trip you, rocks that may give way, or sand, water, and snow that may make the next surface more slippery than the last. I can “prehab” athletes in order to prevent overuse injuries, but mindless accidents will always happen. People lose attention for just a moment, and things happen that are beyond their control, namely gravity.
Keep a Loose Body Posture
Maintain a slight bend in the knees, but mostly remember to avoid tensing up throughout your body, as if you’re trying to preempt a spill by resisting gravity. When we’re loose, we already have an advantage when something bad does happen, because we’re ready to respond. Our bodies know how to move downhill; we just need to give them space to do so.
 Plant Your Heels
If you’ve ever walked down a steep snow field, you’ve probably used the “plunge step”. That is, you sit back in your stride with a slightly wide stance and plant one heel in the snow; you settle in and then repeat with the opposite foot, your heel again cutting into the snow first. Walking down a steep hill sans snow? Do a less hyperbolic version of the same motion, bending your knees and leaning into your butt ever so slightly while leading with your heel. Follow through your arch and, just as you start to rise on your toes, repeat with the other foot. You’ll modulate momentum this way by counteracting gravity from your very position. Too, you’re using a more stable part of your foot.
Keep Weight Off of Your Hiking Poles
It feels instinctive, of course, not only to give yourself more points of contact with the ground but also to feel like you’re parallel with the slope. But best-case scenario, your back is going to ache when you reach the bottom; worse-scenario case, you hurtle onto your face should your foot catch anything or the poles slide out from loose terrain. Don’t do it. Remember your bent knees and planted heels, and keep your poles to your side or barely out front. Think of them a little bit like a backhoe’s stabilizers, appendages that keep the machine from tipping as it works. Poles should be tall enough to render a 90-degree angle at the elbow; if I’m going down something especially steep, I might make them slightly longer in order to catch myself better during a big missed step.
Practice and Prepare
If you’ve ever been on a long downhill run or hike, you understand the strain it puts on your quads after you wake up the next morning and shuffle through your house, wondering if your legs will ever again feel whole. Remember-the force that the legs are enduring with downhill exercise is eccentric exercise—that is, the muscle is counteracting gravity. To prepare the quads, train with Bulgarian split squats. But it’s not only your quads that need help. Your hamstrings should be sharing slightly less of the load so be sure to stretch and load those, too! And remember: You’ll need to work your core, glutes, and balance in functional positions.
In my experience, there’s no easier way to hate an activity than to get badly injured while doing it.
Need guidance? Call me for an appointment- You’ll receive a thorough assessment to identify any imbalances that may be putting you at risk as well as a customized program. Let’s keep you safe on the trails for years to come.


